

Footling with felt
Process and progress: making, embellishing and stitching on felt

Progress report
I finally FINISHED something! But I’m being good and it’s put to one side while I crack on with finishing more things.
The temptation to fiddle with frames is strong (as is the temptation to make cards) but that’s just resistance to getting straight back into the creative process with another piece, so I’m holding firm.
And straight back in I must go! I’ve got less than a week until we hang, I’m still not 100% what I’m putting on the wall - and I wielded a tape measure against my exhibition space yesterday which was a bit of a kick up the proverbial.

As is the way with these things, the nearer I got to somewhere that felt finished (ho ho) it was the smallest and smallest tweaks that made the difference. Well, to my mind. And I guess that’s what it’s all about, ultimately. And that’s another thing I’ve been pondering this week too, as I had to write my Artist’s Statement for the exhibition. I’ll share what I discovered through the writing process another time.
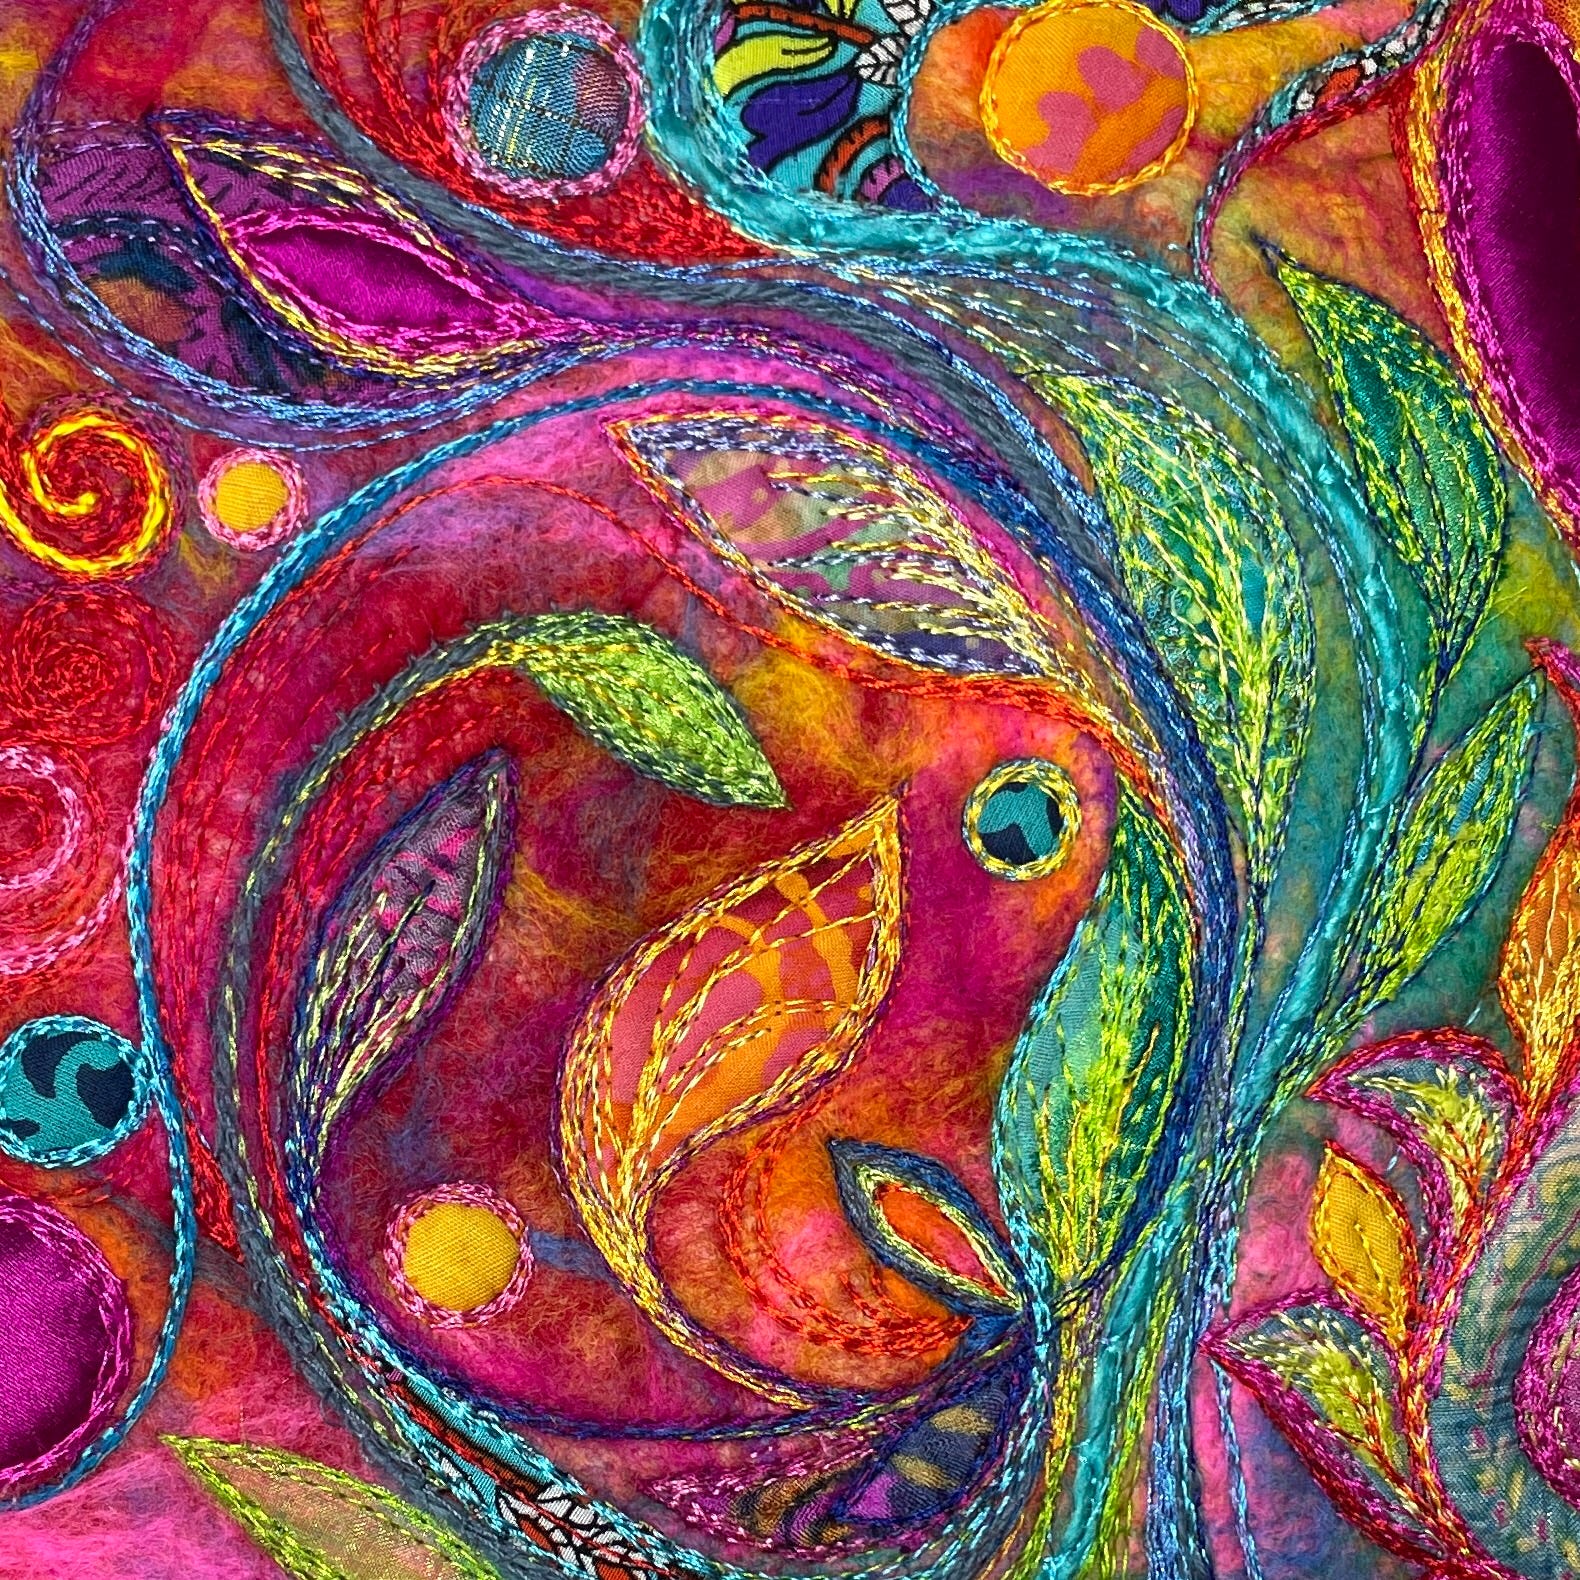
Meanwhile, here’s a very tiny video showing a bit of my process from felt to finished. I took the photos as a reference for me, to remind me where I was. As you know, nothing in my world is linear, I dip in and out of these things during the week - and you also get a more objective view through the camera lens. Don’t know why, but sometimes you can see things in a photo that you don’t when staring it in the face.
It’s going into a square frame so there will be - quite deliberately - offcuts. Cards!
I’m satisfied with it, I like the way it went - although it all felt (ho ho again) a little tight by the end. So this one’s up next, and I’ve decided already its title is “remember to have fun”.
I learned to make felt the handmade way, i.e. elbow grease, getting an embellisher was like going from hand stitch to machine - not that I really know what’s that like, I started on the machine at a very early age! Yes, you can even felt wool and silk together by hand (nuno felt) but it’s a bit long-winded as you need to use cold water and let it sit, soggily, for quite a while until the fibres feel inclined to conjoin.
The next upgrade would be using a needle punch tool, but that’s a lot of stabbing up and down, you’d get an RSI (and very bored) doing a big piece.
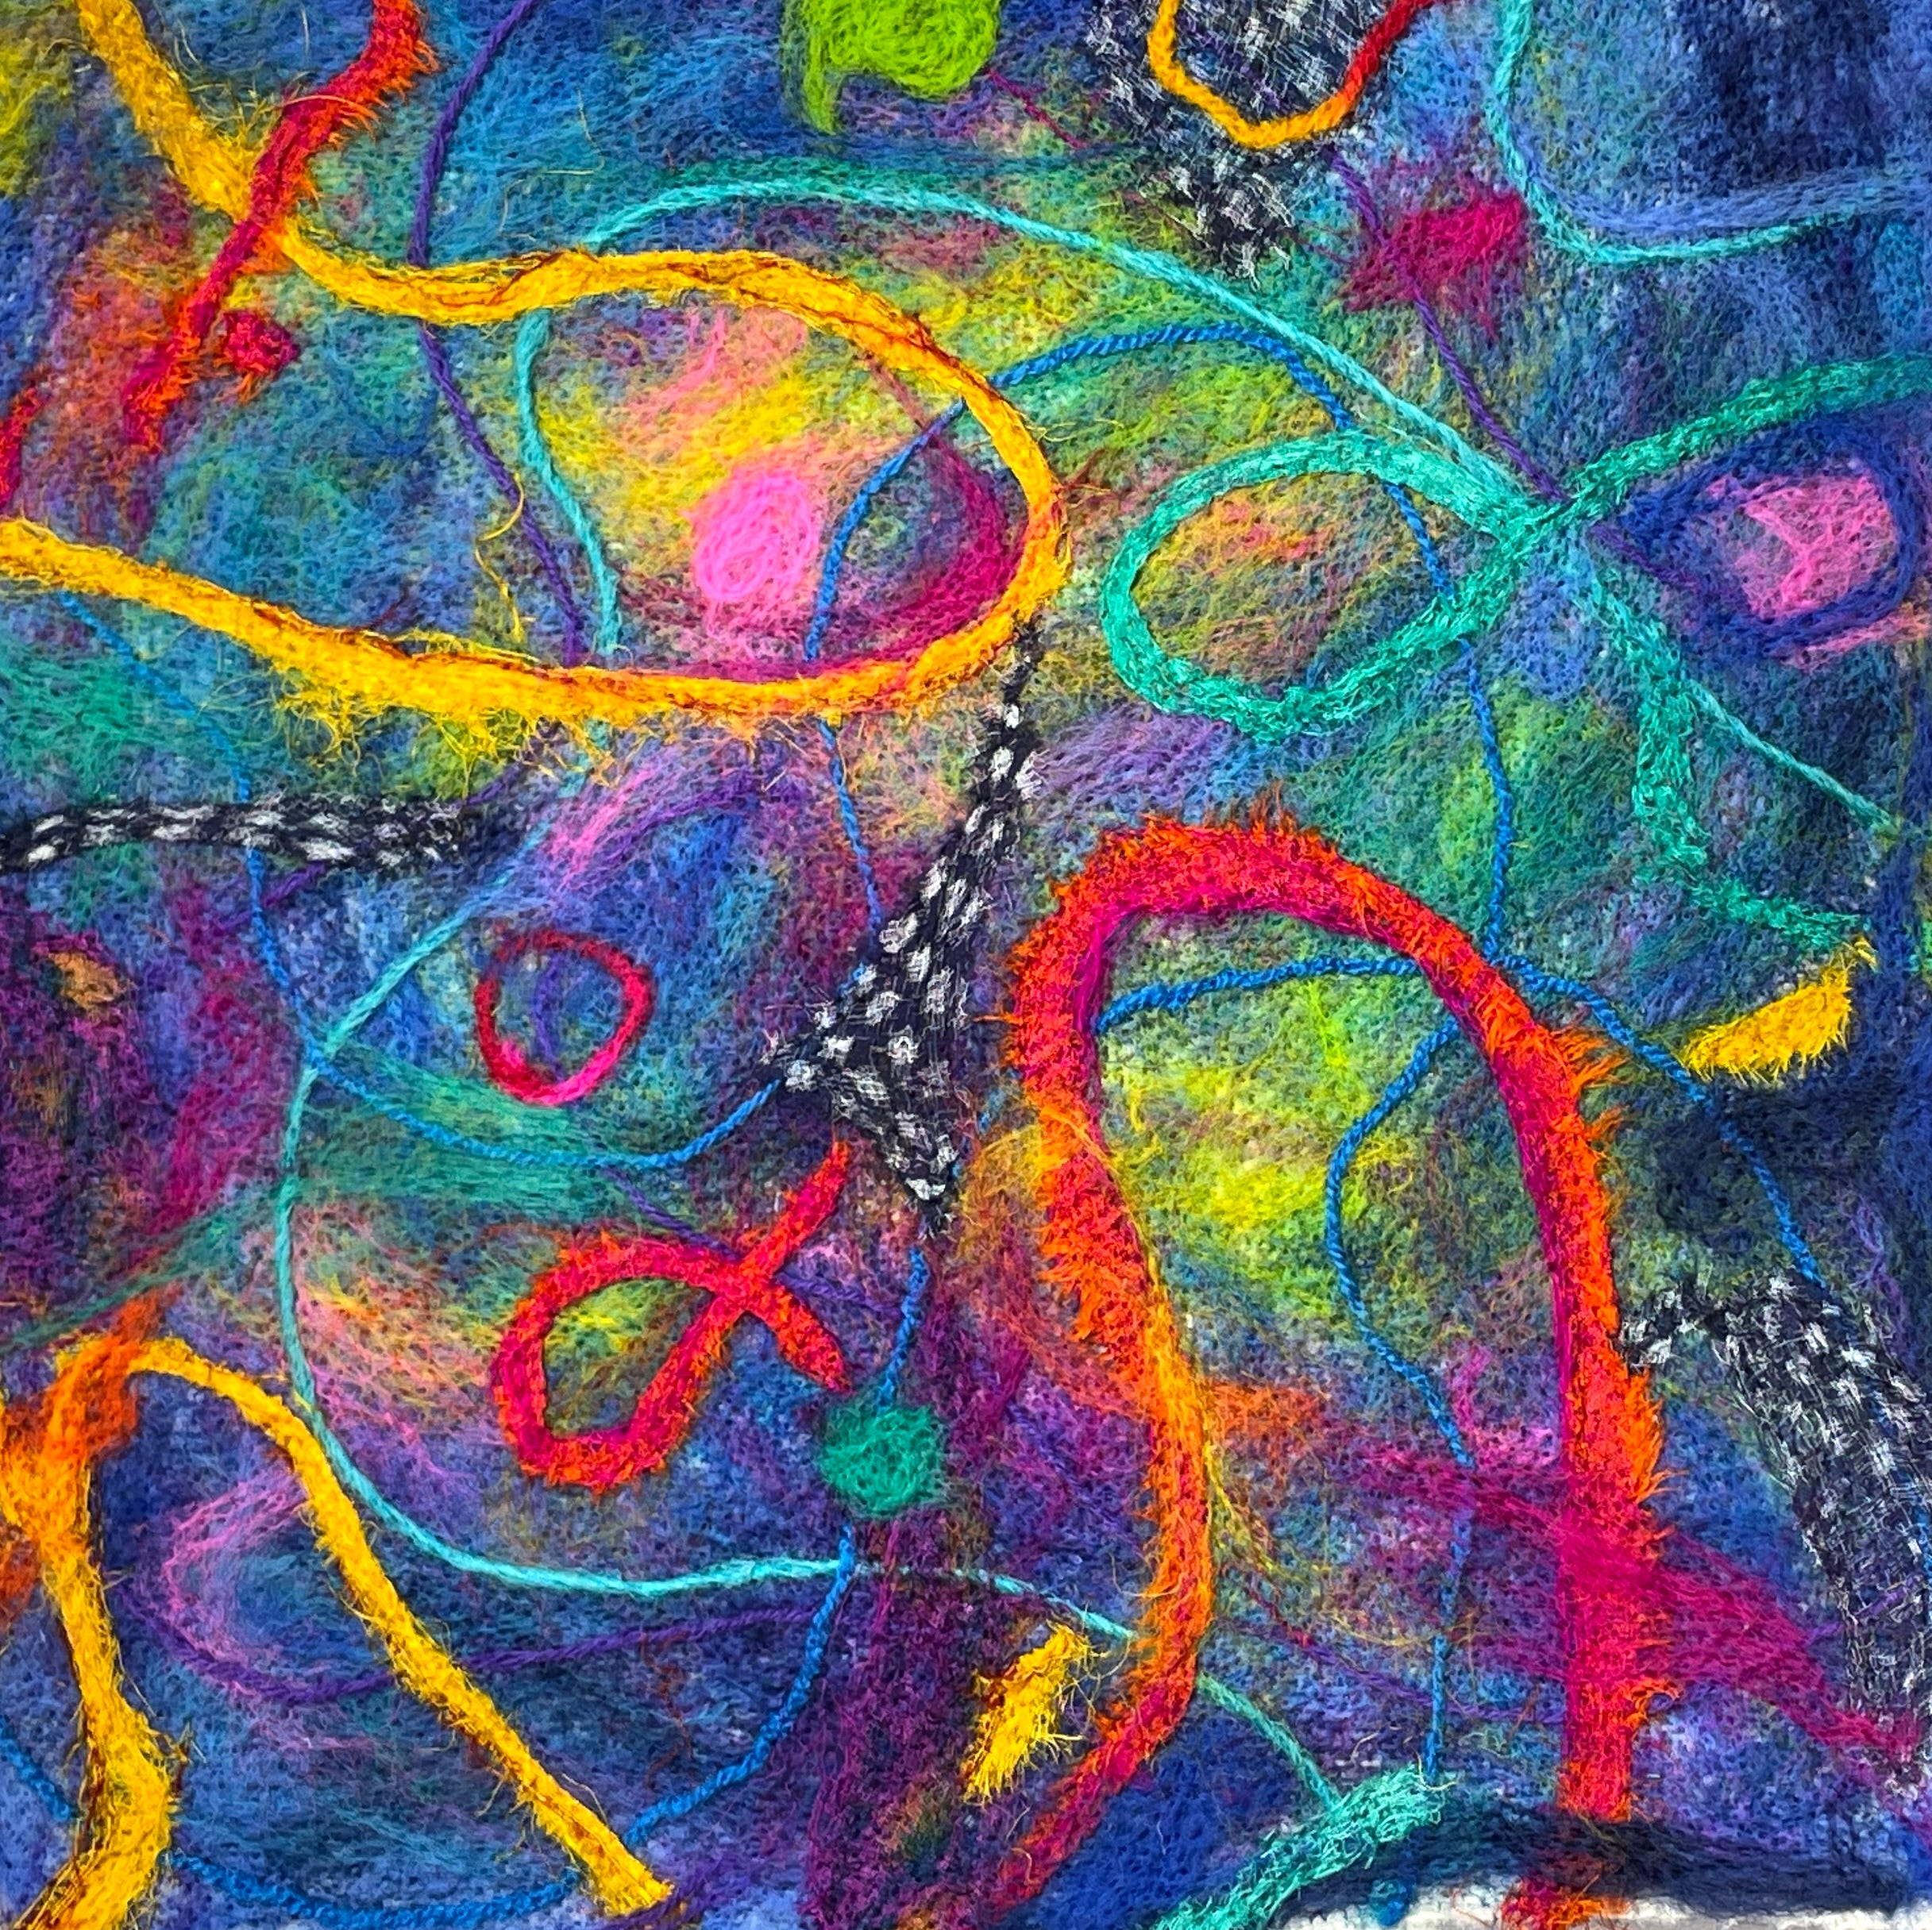
So if you want to crack on (and have less than a week before an exhibition deadline) why not add a little electricity, and use an embellisher/needlefelting machine. It’s like a sewing machine, but instead of one needle you have seven or more, and they’re barbed and dangerous little devils. You don’t thread them, they just go up and down and smash and enmesh whatever you put under them. If you’re careful (you really do need to be) you can embellish all sorts of things to a woolly background, not just wool tops. The colourful lines I’ve added to this blue piece are yarns and sari silk.
Needle felting meets wet felting
BUT I really don’t like all those holes from the felting needles! So here’s another little video to show my extra step. Sometimes it makes a difference and blends everything together, in this case, probably not - because I’ve now added more embellishing on top, so more holes. Also, I didn’t roll it as part of the process. Not sure why, I might’ve been in a rush to get it done - although that didn’t stop me pausing with wet fingers to snap photos.
If you look carefully, you’ll notice half-way through it’s a different piece of felt (the red/pink one above). I included this snippet because it shows how I regularly peel back the net before it felts into the surface, and test to see if the fibres are meshing by trying to pick them from the surface with fingertips. If it all looks good, this is the stage when I would roll. But I didn’t, this time. I just went straight to rinse with a little fulling in the muslin. You have to be careful with this bit, as things can shrink quite spectacularly!
My trusty feltmaking kit comprises
Towel - an old one I keep just for this
Bubble wrap - the proper sort, with raised bubbles (sometimes they’re enclosed)
My favourite bit of old net curtain - stops the fibres shifting about too much
Olive oil soap - not too frothy (fibres won’t felt if too much soap); kinder to hands
Small plastic bag - best felt-making tool ever! Helps hands slide over the net.
Old baby muslin square - any piece of cotton cloth works for fulling (tightens everything up)
Vinegar - for final rinse, to neutralise the soap and soften the wool
Oh, and warm water. I generally sit the soap in puddle of warm water in a plastic box for a few moments before removing it. You can then add the soapy water to a plastic bottle with holes in the lid or a spray nozzle, but for small projects like this I just sprinkle it over the wool with my fingers.
If I’m making a piece completely from scratch (i.e. layers of wool tops only, not already needle-felted/embellished onto wool blanket) I’ll stick a bit of wooden broomstick in there too. For the rolling. Which I didn’t do. Hey ho.
Onwards
So with less than a week to go, a stack of frames still awaiting contents, and my note-to-self to remember to have fun, that’s exactly what I’m going to go and do!
As always, thank you for reading…
Until next time,
Which may well be after I’ve hung the invisible art on the wall…I’ll take a pic and show you 😅

I love your posts, we are such kindred spirits, disorganized, overwhelmed, eyesbiggger than our appetites but we do make it across the finish line, keep trying to make practical changes, never succeed but at therpeoldageof90Iam still trying, thatiswhy Istillworkoutat the gym,for the strength😊
I do love all those lovely colours! I’m a bit late seeing this post - you know, life!! Hope everyone loved your pieces and you had a good time. 🤣